Maps: Visual Representation of Data by Location
‹View Table of Contents
Basic Functions
The map window toolbar contains the following tools to help create a meaningful representation of your data:
- Add marker
- Scale bar
- Add zone
- Add label
- Remove all layers
You can access these basic functions from the main map window by right-clicking or pressing the alternate mouse button anywhere on the map canvas.
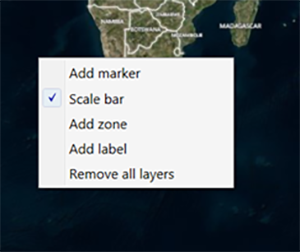
Figure 10.7: Basic functions menu in Epi Map
Add Marker
A marker identifies a point of interest by placing a symbol on the map. Symbols are available in various shapes and sizes to identify multiple points of interest.
- Right click on the main map window in the location where you would like to place the marker. A menu appears displaying the available options.
- Select Add marker.
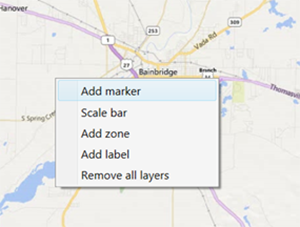
Figure 10.8: Basic functions menu, with “Add marker” option highlighted
- Select a Style from the Style drop-down list for the marker. The style will determine the marker’s shape on the screen.
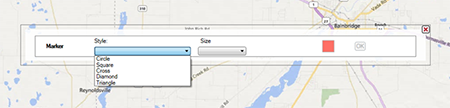
Figure 10.9: Add marker drop-down illustrating various marker styles
- Select the Size of the marker from the Size drop-down list. The smallest marker size available is 10, while the largest is 30.
- Select the Color of the marker by clicking on the red Point Color button to the right of the dialog box.
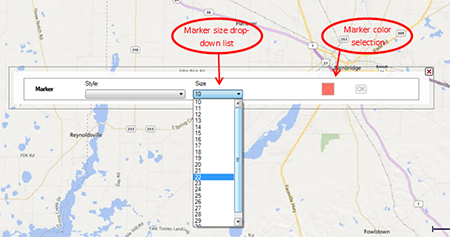
Figure 10.10: Marker size drop-down menu and marker color selection option
- Click OK. The example illustrated below is a diamond-shaped marker of size 20 in red.
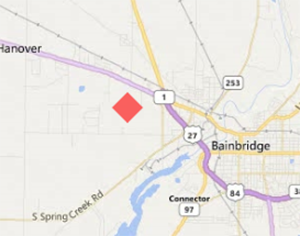
Figure 10.11: Marker displayed in map window
Scale Bar
The Scale bar option in the basic functions menu tells Epi Map whether to display or not display the scale bar in the lower right hand corner of the main map window.
Add Zone
A zone identifies a circular region on the map. This is useful when highlighting an area that centers on a point of interest or specifying an area with public health implications. Zones can be of varied size and color, but are limited to a circular shape.
- Right click on the main map window in the location where you would like to place the center of the zone.
- Select Add zone.
- Enter the desired Radius and Units, For instance, if you want a zone that is 1,000 meters in diameter, you would enter “1,000” in the Radius box and select “Meters” in the Units drop-down. Epi Map will “drop” the zone with the radius starting at the point where you right clicked to add the zone.
- Choose a zone Color by clicking the colored box and selecting your desired color.
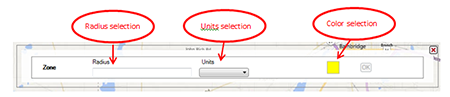
Figure 10.12: Zone radius, units, and color selections
- Click OK. In this example, the zone is 1,000 meters in diameter and yellow in color.
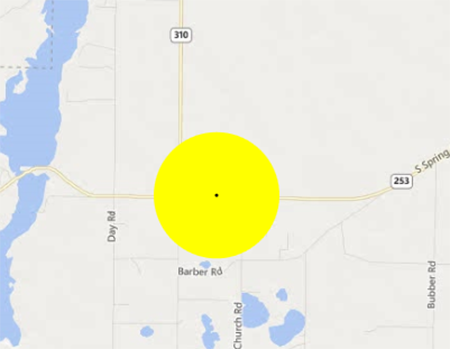
Figure 10.13: Zone displayed in map window
Note: Zones will appear distorted when placed closer to the north and south poles due to the area being re-projected from the globe onto a flat surface.
Add Label
- Right click on the main map window in the location where you would like to place the label.
- Select Add label.
- Enter the label you would like to display in the textbox. Click the Font radio button next to the Font textbox to select the desired Font. The Font radio button will open a list of possible fonts from which to select.
- Choose a label Color by clicking the colored box and selecting your desired color.
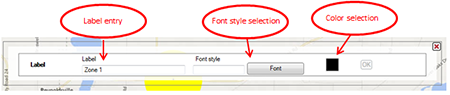
Figure 10.14: Label entry box and font and color selections
- Click OK. In this sample, the label is 16-point Arial font in blue.
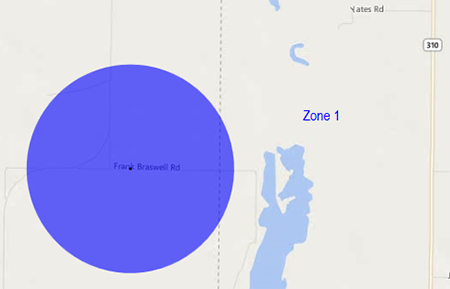
Figure 10.15: Label displayed in map window
Remove All Layers
Markers, zones, and labels are referred to as “layers” or “data layers.” To clear the main map window of all layers, right click on the map and select Remove all layers.