Classic Analysis: Command Driven Analyses and Data Management
‹View Table of Contents
How to Select Records
Use the SELECT Command
Use SELECT to view or analyze specific records based on selection criteria.
Syntax
SELECT <expression>
- From the Classic Analysis Command Tree, click Select/If > Select. The SELECT dialog box opens.
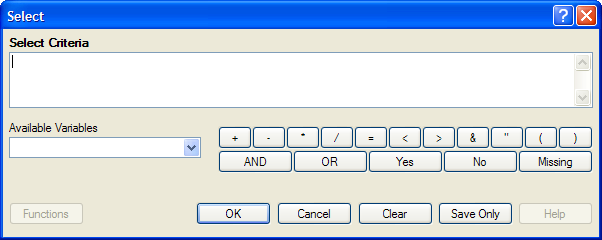
Figure 9.21: Blank Select Dialog Box
- Use the Available Variables drop-down list to select variables from the open dataset.
- Use the Select Criteria field and the Functions and Operators buttons to create selection code.
- Click OK. The Record Count in the Output window should alter based on the number of records meeting the new criteria.
- From the Classic Analysis Command Tree, click Statistics > List to view the records matching the selection criteria.
- From the Classic Analysis Command Tree Select/If folder, click Cancel Select to cancel the selection criteria and return the Record Count to all records in the dataset.
Select a Date Range
- From the Classic Analysis Command Tree, use the READ command to open a PRJ project file.
- From the Classic Analysis Command Tree, click Select/If > Select. The SELECT dialog box opens.

Figure 9.22: Select Dialog Box
- From the Available Variables drop-down list, select a date variable.
- In this example, DateVar is a date variable used in the data table. The DateVar has to be a date field or be converted into a date field using the NUMTODATE or TXTTONUM functions.
- In the Select Criteria field, create the date range selection code by using the greater than >, less than <, and AND operators.
Note: Unless the date literal is enclosed in braces or pipe symbols, literal dates in PGMs are always in U.S. date format. European date format (DD/MM/YYYY) literals must be enclosed in braces (Example: {23/11/2007} ). ISO date literals (YYYY/MM/DD) must be enclosed in pipe symbols (Example: |2007/11/23| ).
Create the following example using the project called Sample.PRJ and the data from Surveillance.
READ {.ProjectsSampleSample.prj}:Surveillance
SELECT BirthDate >= 01/01/1970 AND BirthDate < 01/01/1979
Use the CANCEL SELECT Command
SELECT
- From the Classic Analysis Command Tree, click Select/If > Cancel Select. The CANCEL SELECT dialog box opens.

Figure 9.23: Cancel Select Dialog Box
- Click OK. The selection criteria are removed from the data and the original record count is restored.
Use the IF Command
The IF command defines a condition. True causes the THEN code block to be executed; false causes the ELSE code block (if present) to be executed.
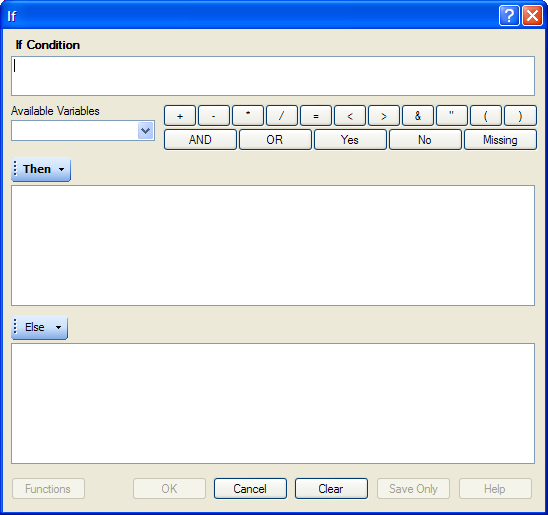
Figure 9.24: If Command Dialog Box
- The If Condition field specifies the condition to determine which statement that follows it is executed.
- The Available Variables field allows you to select variables available in the current project.
- The Then button is part of the If Condition statement. It starts the section of code executed when the If condition is true.
- The Else button is part of the If Condition and works as follows: If the condition is true, the first statement is executed. If false, the statement is bypassed, and if an else statement exists, it is executed instead.
- Functions and operators appear within commands and are used for common tasks (e.g., extracting a year from a date, combining two numeric values, or testing logical conditions).
- OK accepts the current settings and data, and subsequently closes the form or window.
- Save Only saves the created code to the Program Editor, but does not run the code.
- Functions opens the online Help file which explains the functions and operators. (Currently Disabled).
- Cancel closes the dialog box without saving or executing a command.
- Clear empties the fields so information can be re-entered.
- Help opens the Help topic associated with the module being used. (Currently Disabled).
Use the SORT Command
The Sort command allows you to specify a sequence for records to appear when using the LIST, GRAPH, and WRITE commands.
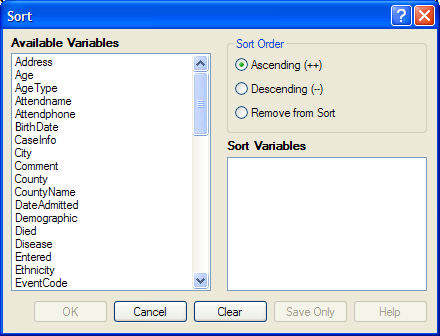
Figure 9.25: Sort Command Dialog Box
- The Available Variables field allows you to select variables available in the current project.
- Sort Order allows variables to be sorted in ascending (A to Z) or descending (Z to A) order. If the order is not specified, the sort order will be ascending. To sort one or more variables in descending order, the descending parameter (–) must be after each variable.
- Select Remove from Sort to remove the variables selected from the list.
- Sort Variables contains a list of variables selected for the sort.
- OK accepts the current settings and data, and subsequently closes the form or window.
- Save Only saves the created code to the Program Editor, but does not run the code.
- Cancel closes the dialog box without saving or executing a command.
- Clear empties the fields so that information can be re-entered.
- Help opens the Help topic associated with the module being used. (Currently Disabled).
CANCEL SORT
How to Use the CANCEL SORT command
The Cancel Sort command in Classic Analysis cancels a previous SORT command.
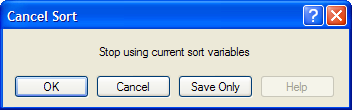
Figure 9.26: Cancel Sort
- OK accepts the current settings and data, and subsequently closes the form or window.
- Save Only saves the created code to the Program Editor, but does not run the code.
- Cancel closes the dialog box without saving or executing a command.
- Help opens the Help topic associated with the module being used. (Currently Disabled).