Maps: Visual Representation of Data by Location
‹View Table of Contents
Basic Tools
Basic Tools
To open Epi Map, click Create Maps from the Epi Info™ 7 main menu, or select Map from the main page toolbar at the top of the Enter Data component main screen. This section of the user guide provides instructions on how to use Epi Map when it is accessed directly from the main menu. Accessing Epi Map from the Enter Data toolbar enables additional interactivity between the project data and the mapping tool. For additional information regarding the Epi Map tool’s functionality from the Enter Data tool, refer to the Enter Data section of this User Guide.
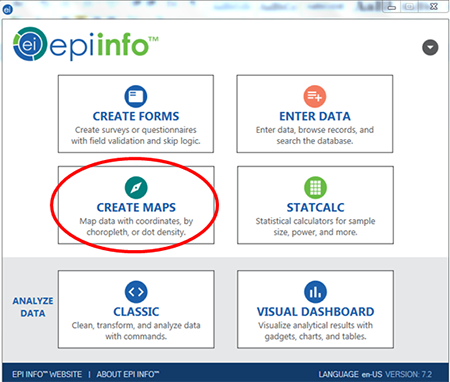
Figure 10.1: Epi Info 7™ main menu, highlighting Create Maps menu option

Figure 10.2: Epi Map main window workspace
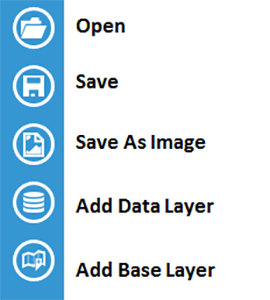
Figure 10.3: Epi Map toolbar with icons defined
View Settings
The default setting in the main window is satellite view (shown in Figure 10.1). The satellite view displays national boundaries, major roadways and geographic markings, as well as regional topography. To change the view setting, click on the Streets or Blank button bar at the top right corner of the screen. The street view displays similar geographic landmarks, roadways and boundaries without the region’s topography. The blank view displays an empty canvas, which is beneficial when working with custom boundary files or adding base layers (see the Base Layers section). You can also opt to view Full Screen by clicking the block with the arrow in the Satellite/Streets/Blank button bar.
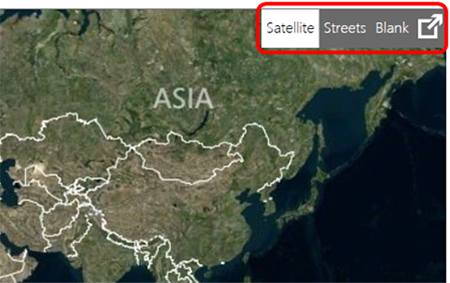
Figure 10.4: Epi Map main window, illustrating location of view selector button bar
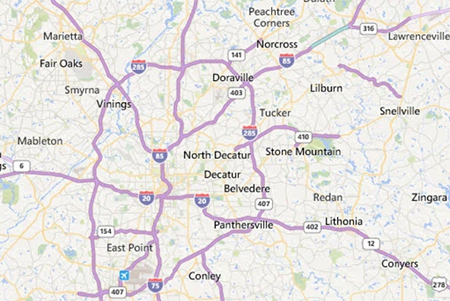
Figure 10.5: Sample streets view
Navigation Tools
To zoom in and out on a location, place the mouse over the desired location and rotate (or scroll) your mouse wheel forwards or backwards respectively. You can also zoom in or out by using the navigation panel at the top left corner of the screen. There is a bar in the far left with a + at the top and a – at the bottom. Click the + to zoom in or the – to zoom out; or, click and drag the bar located in between the + and – to adjust the zoom. To the right of the zoom option is a compass.
Clicking on the arrows representing north, south, east and west will move the map location in the selected direction. You can also click and drag the map to adjust the screen. To rotate the view, click and drag the navigation panel compass wheel until the map view meets your specifications. The navigation panel will be light gray while you are working in other parts of the map, but will “brighten” to white when you mouse over it.

Figure 10.6: Epi Map main window, illustrating where the navigation panel is located