Classic Analysis: Command Driven Analyses and Data Management
‹View Table of Contents
ASSIGN Command
Use the ASSIGN Command
This command assigns an expression result or the field value to a variable. Variables are usually created with the DEFINE command and assigned a value.
Syntax
ASSIGN <variable> = <expression>
- From the Classic Analysis Command Tree, click Variables > Assign. The ASSIGN dialog box opens.
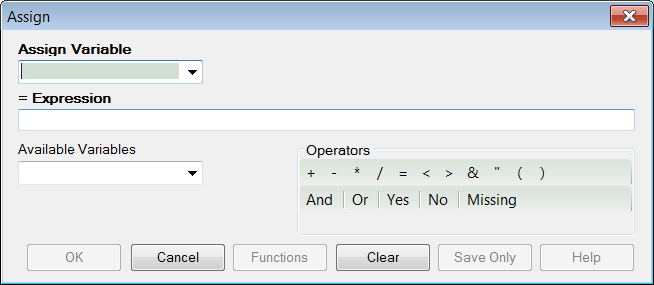
Figure 9.7: Assign Dialog Box
- From the Assign Variable drop-down list, select the variable to have a value assigned.
- In the =Expression field, create the assignment syntax based on needed data.
- Click OK. The code appears in the Program Editor.
Try It
In the following example, the zip code field is a number. To use the zip code in a map, a new zip code variable must be defined and assigned text values.
- From the Classic Analysis Command Tree, use the READ command to open the Sample.PRJ project.
- From the Form section, click Surveillance.
- Click OK.
- Click Variables > Display.>–Variables currently available.
- Click OK. The variables information appears.
- Click Variables > Define. The DEFINE dialog box opens.
- In the Variable Name field, create a new variable named Zip2.
- Select Text for Variable Type.
- Click OK.
- From the Classic Analysis Command Tree, click Variables > Assign. The ASSIGN dialog box opens.
- From the Assign Variable drop-down list, select Zip2.
- In the =Expression field, type the syntax FORMAT(ZipCode,”00000″).
- In this example, the FORMAT function converts the format of the values of the variable ZipCode into text format. Text values are always surrounded by double quotes and assigned to the new Zip2 variable.
- Click OK. The code appears in the Program Editor.
- Use the DISPLAY command to view variable information.

Figure 9.8: Variable Information in Program Editor
Delete Files
The file(s) specified explicitly or implicitly (via wildcards) are deleted. If no files are specified, or if any specified files cannot be deleted, a message is produced unless you select Run Silent. Wildcards are not allowed in the suffix.
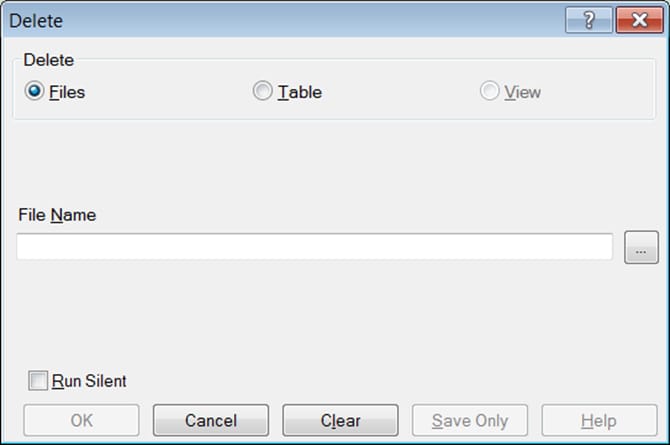
Figure 9.9: Delete Dialog Box
- File Name contains the name of the file to be deleted.
- Run Silent causes the command to run without any warning or error messages from the Program Editor.
- OK accepts the current settings and data, and subsequently closes the form or window.
- Save Only saves the created code to the Program Editor, but does not run the code.
- Cancel closes the dialog box without saving or executing a command.
- Clear empties the fields to allow information to be re-entered.
- Help opens the Help topic associated with the module being used (Currently Disabled).
Delete Table
The specified table is deleted. If the table does not exist or cannot be deleted, a message is produced unless you select Run Silent. To delete tables with spaces in their names, specify the file and the table even if the table is in the current project. The table must be enclosed in single quotes. It is possible to read a table with a space in its name and then delete it, resulting in errors during subsequent procedures.
DELETE TABLES will not delete and produce messages if any of the tables specified are data, grid, or program. Code tables are deleted only if they are not referenced by any form.
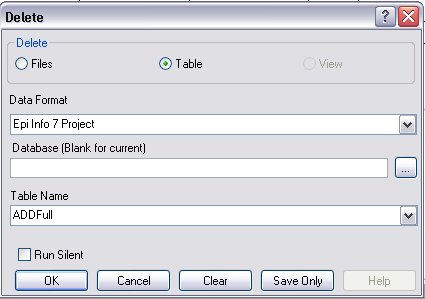
Figure 9.10: Delete Tables Dialog Box
- Data Format specifies the data source format of the file containing the table to be deleted.
- Database (Blank or Current) specifies the name and location of the dataset containing the table to be deleted.
- Table Name specifies the name of the table to be deleted.
- Run Silent causes the command to run without any warning or error messages from the Program Editor.
- OK accepts the current settings and data, and subsequently closes the form or window.
- Save Only saves the created code to the Program Editor, but does not run the code.
- Cancel closes the dialog box without saving or executing a command.
- Clear empties the fields to re-enter information.
- Help opens the Help topic associated with the module being used. (Currently Disabled).
Delete Records
Delete Records may not be used with related tables. For DELETE * and DELETE TABLES, space will not be reclaimed. You can run the Epi Info 3.5.3 Compact Database utility to reclaim space. All records in the current selection matching the expression are set to deleted status, or if PERMANENT is specified, physically deleted. Unless you select RUNSILENT, a confirmation message is displayed.
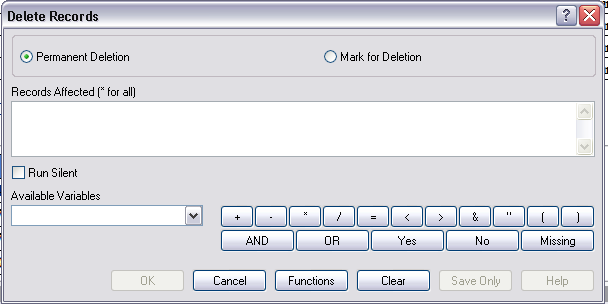
Figure 9.11: Delete Records Dialog Box
- Permanent Deletion causes records to be inaccessible after deletion.
- Mark for Deletion marks the selected records as to be deleted, and permits you to undelete. This feature can only be applied to Epi Info 7 projects.
- The Records Affected (* for all) field specifies which records to delete.
- Run Silent causes the command to run without any warning or error messages from the Program Editor.
- The Available Variables drop down allows you to select variables available in the current project.
- Functions and operators appear within commands and are used for common tasks (e.g., extracting a year from a date, combining two numeric values, or testing logical conditions).
- OK accepts the current settings and data, and subsequently closes the form or window.
- Save Only saves the created code to the Program Editor, but does not run the code.
- Cancel closes the dialog box without saving or executing a command.
- Clear empties the fields to re-enter information.
- Help opens the Help topic associated with the module being used. (Currently Disabled).
Use the ROUTEOUT Command
You can locate output by using the ROUTEOUT command. If no directory exists, the file is placed in the current project’s directory. Results accumulate until you execute a CLOSEOUT command. Output files can be placed in any folder. The ROUTEOUT command selects a path and filename. If no output file is selected, Classic Analysis uses the default value. In each folder, Classic Analysis creates a new index table that contains links to the files created.
- From the Classic Analysis Command Tree, use the READ command to open a PRJ project file.
- From the Classic Analysis Command Tree, click Output > RouteOut. The ROUTEOUT dialog box opens.
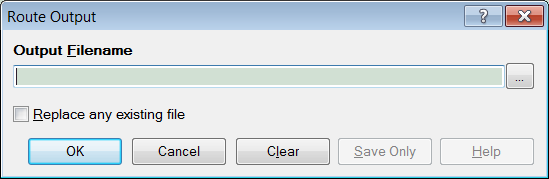
Figure 9.12: Route Output Dialog Box
- In the Output Filename field, enter a file name to locate an existing file.
- If necessary, select Replace Existing File to write over any files with the same name.
- Click OK. Create Output on the existing project.
- Notice the title bar contains the output filename specified in the ROUTEOUT command.
- The new file is placed in the selected directory with the extension .HTM.
- From the Output window toolbar, click Open. The Browse dialog box opens.
- Locate and select the file created with ROUTEOUT. Click Open. The Output appears in the Output window.
- The saved Output file can be opened by any application that can read an HTML file.
To end the ROUTEOUT command, choose one of the following options.
- From the Output folder, click Closeout.
- READ in a new project.
- Close Epi Info 7.
Use the CANCEL SORT Command
Syntax
SORT
(The syntax is just the command “SORT” with no variables or other parameters.)
- From the Classic Analysis Command Tree, click Select/If > Cancel Sort. The CANCEL SORT dialog box opens.
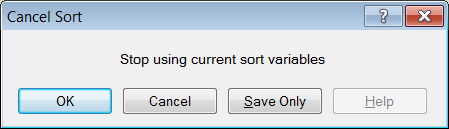
Figure 9.13: Cancel Sort Dialog Box
- Click OK. The selection criteria are removed from the data, and the original record count is restored.
Undelete Records
The UNDELETE command causes all logically deleted records in the current selection matching the expression to be set to normal status. This applies only to Epi Info 7 forms and may not be used when using related tables.
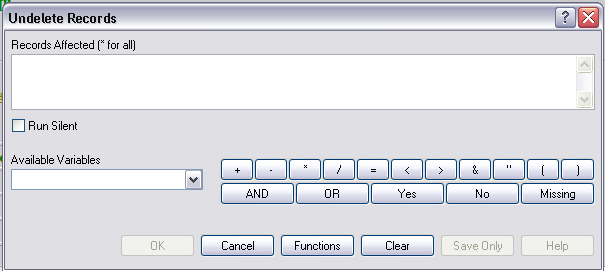
Figure 9.14: Undelete Records Dialog Box
- The Records Affected (*for all) field contains the expression for which records to undelete.
- The Available Variables field allows you to select available variables in the current project.
- Functions and operators appear within commands and are used for common tasks (e.g., extracting a year from a date, combining two numeric values, or testing logical conditions).
- OK accepts the current settings and data, and subsequently closes the form or window.
- Save Only saves the created code to the Program Editor, but does not run the code.
- Functions opens the online help file, which explains how to use functions and operators.
- Cancel closes the dialog box without saving or executing a command.
- Clear empties the fields to re-enter information.
- Help opens the Help topic associated with the module being used. (Currently Disabled).