Epi Info™ User Guide
Form Designer
How To: Use the Image Field
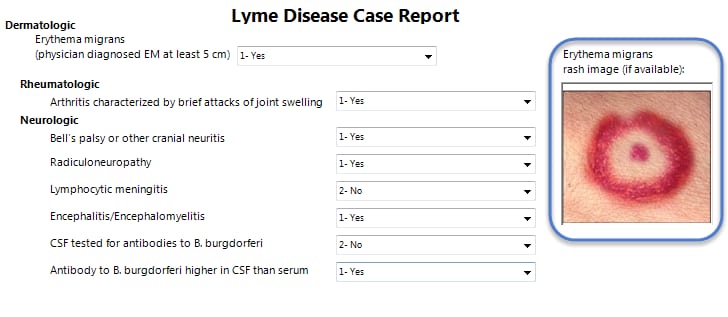
The Image field allows an image to be inserted in the record. Examples of items that could be included as an image might be the patient’s photo, an image of a wound, rash or insect bite, a bacteria culture dish, or the barcode of a sample vial. This is especially useful when the data collection device has a built in camera such as a tablet computer and smart phone.
If the image is not collected from a built in camera, clicking in this field will display the Open dialog to browse for an image file. The accepted image file types are: Portable Network Graphics (.PNG), Graphics Interchange Format (.GIF), Joint Photographic Expert Group (.JPG or .JPEG), and Windows Bitmap Format (.BMP). This field type is not supported on Web Survey.
To add a Image field:
- Open the Image Field Definition dialog box.
- Enter the Question or Prompt. The text entered in this field will display on the canvas and prompt the user to enter a response.
- Click in the Field Name text box or press the tab key. Epi Info automatically suggests a field name based on the Question or Prompt, however, it is very important that field names be short, intuitive, and usable. The field name is used for data validation in Check Code and when doing analyses. Field names cannot start with a number or contain any spaces or non-alphanumeric characters (except the underscore character “_” is permitted).
Note: It is best to simplify the field name at this time. Field names cannot be changed after data collection starts.
- By default, Epi Info™ expands/contracts the image to fit in the size of the Image field. Check the Retain Image Size checkbox to disable this function and have the image inserted in the field without modification.
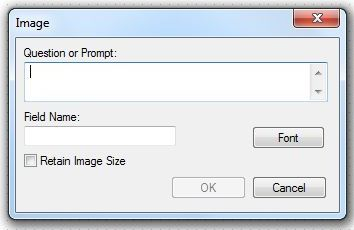
- Click OK. The Image field appears on the canvas.