Purpose
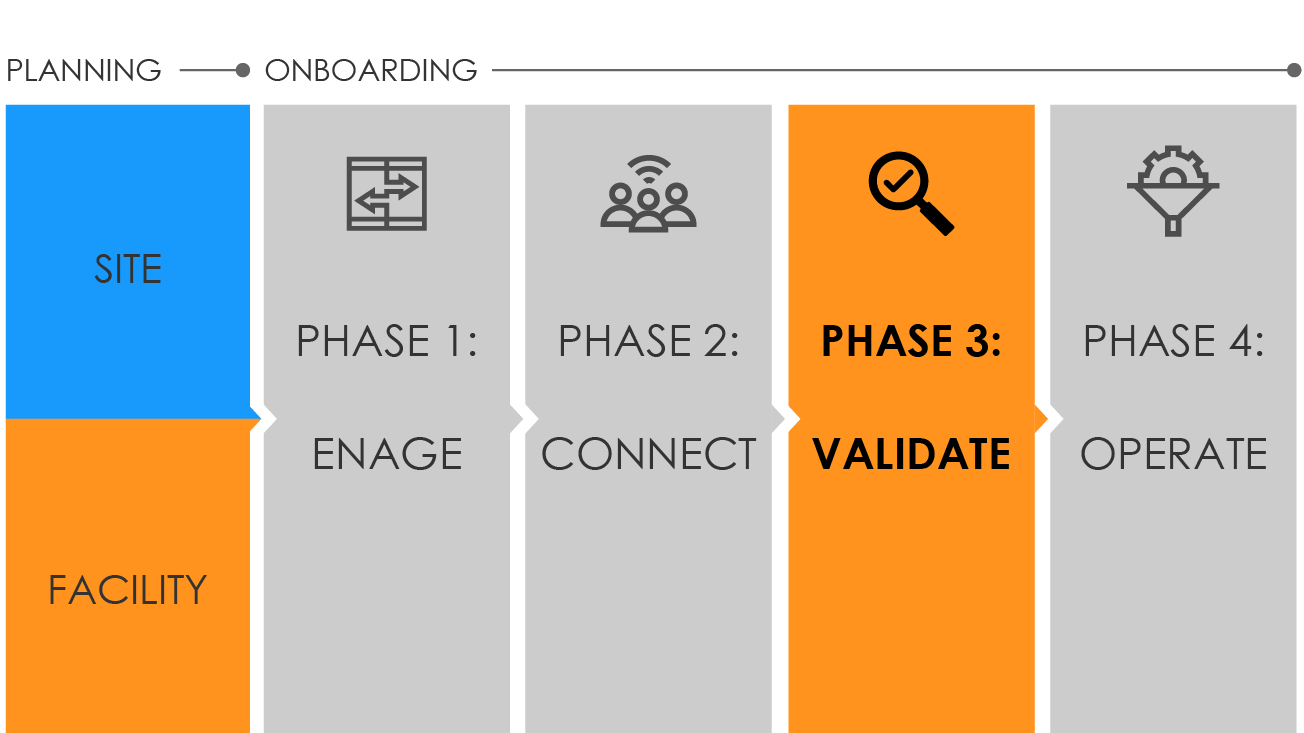
Validate is the third of four NSSP phases to onboard facilities into the BioSense Platform. Verifying naming conventions and setting up the timing of feeds are important during this stage.

The process
This content is part of a series of online job aids related to onboarding. These resources are meant to be used together along with New Facility Onboarding —The Complete Guide.
Download this job aid: Phase 3: New Facility Steps to Validate
Validate is the third of four NSSP onboarding phases. This guide will walk site administrators through the steps that must be completed by the site team and feed administrator before connecting to the BioSense Platform production environment. (Sometimes the site administrator will oversee feed administrator tasks.) Confirm that the facility feed has successfully connected to the NSSP onboarding environment before starting the Validate phase.
Steps 1 through 4 apply to both site administrator and feed administrator.
STEP 1: Verify that file format and naming conventions are valid (see New Facility Onboarding —The Complete Guide, Section 4.4 "File Format and Naming Conventions"). Each feed must submit a valid test message to the BioSense Platform. Files uploaded to the BioSense Platform cannot be processed unless the file format and naming convention are valid.
- Log in to your feed's account in Onboarding environment using WinSCP or FileZilla.
- Upload a valid message with the correct file name convention and batch and message structure.
STEP 2: For each feed, set up a schedule for batch transmissions using one of these options:
- Transmit in 15- to 60-minute increments (preferred).
- Transmit at least once every 24 hours.
STEP 3: Confirm that data being sent contain no more than the minimum allowable personally identifiable information (PII) and that data elements are mapped correctly.
STEP 4: Submit live data for validation.
| SITE ADMINISTRATOR | FEED ADMINISTRATOR |
STEP 5: Assess whether facility data meet NSSP-required minimums for validity and completeness.
Until the SAS Staging Data-Quality-on-Demand Tool is released, please contact the NSSP Onboarding Team to obtain data quality reports. |
STEP 5: Request data validation through the site administrator. |
| STEP 6: Assess whether facility data meet site-specified minimums. | STEP 6: Correct reported HL7® issues. Resubmit corrected data for validation. |
| STEP 7: As needed, work with facility to resolve HL7® issues and resubmit corrected data. | STEP 7: Once NSSP approves facility for production, work with site administrator to configure feed to point to production environment. Proceed with live data flow. |
| STEP 8: To get help with data validation, submit a ticket to the NSSP Service Desk. If no assistance is needed during the data validation process, go to STEP 9. | |
| STEP 9:
To activate a facility when data meet NSSP- and site-required minimums, update Facility Status to “Active” in Master Facility Table (MFT). This prepares facility to receive data in the production environment. NSSP onboarding team will run a final validation on data and either (1) approve the activation request or (2) decline the activation request and return rejected information to site for review. |
|
| STEP 10: Once facility is approved for activation in MFT, work with feed administrator and onboarding team to configure feed so it points to production environment. Proceed with live data flow. |
Resources
- Priority Data Elements List: New Facility Onboarding —The Complete Guide, Appendix E
- ONC Health IT Certification for Syndromic Surveillance
- CDC PHIN Vocabulary Access and Distribution System (VADS)
- HL7® Messaging Standard Version 2.5.2 (HL7® Manual)
- National Institute for Standards and Technology (NIST) HL7® V2.5.1 Syndromic Surveillance Validation Tools—Meaningful Use 2015 Edition
- HL7® and FHIR® are the registered trademarks of Health Level Seven International, and their use of these trademarks does not constitute an endorsement by HL7.